
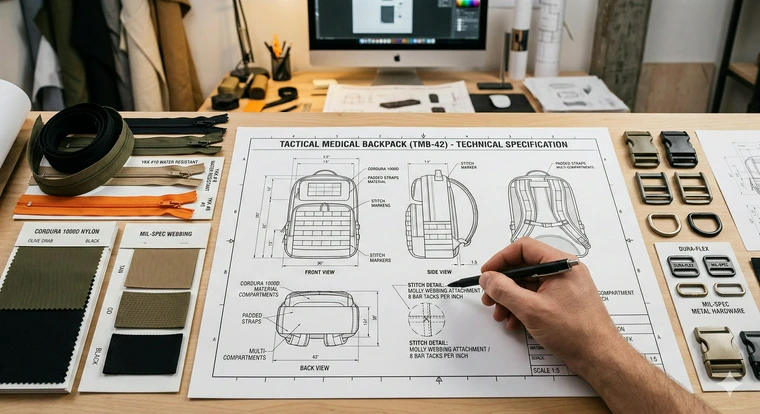
Developing a new bag for equipment, medical gear, or field use starts with one critical step: building a prototype. Before committing to production, you need to confirm that the design, materials, and construction work in real-world conditions.
This guide explains how to get a prototype bag made, what prototype sewing involves, and how to prepare your specifications so a manufacturer can produce an accurate first sample. Whether you’re prototyping a backpack, equipment bag, or medical bag, the same structured process applies.
What Is Prototype Sewing?
Prototype sewing is the process of building a one-off textile sample that is used to validate a bag’s design, materials, and construction before production.
In practical terms, prototype sewing typically includes:
- Pattern development or refinement
- Selection of fabric, webbing, foam, and hardware
- Construction method decisions, such as seam types, reinforcement placement, and binding
- Building a physical first sample
- Testing for load, fit, and durability
- Planning and implementing revisions
Unlike fashion sample making, prototype sewing for industrial or medical bags focuses heavily on performance. The goal is not aesthetic validation alone. The goal is proving that the design works under expected stress, weight, environmental exposure, and repeated use.
Prototype vs Pre-Production Sample
|
A prototype proves the design. A pre-production sample proves repeatability at scale. |
The prototype stage validates layout, reinforcement, access, and structural integrity. A pre-production sample confirms that the design can be manufactured consistently using approved materials, defined tolerances, and standardized processes. Confusing these two stages often leads to cost overruns or delayed launches.
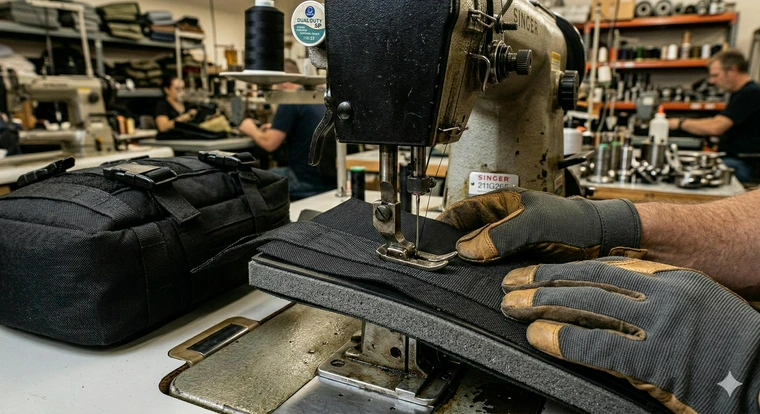
Benefits of Prototyping for Product Development
The benefits of prototyping for product development go far beyond cost savings. For industrial textile products, prototyping reduces operational risk and improves engineering clarity.
Product Development Benefits
The first major benefit is risk reduction. Committing to bulk fabric purchases, custom foam inserts, or specialty hardware before validating the design can create unnecessary expense. A prototype allows you to refine the product before those commitments are made.
Second, prototyping validates usability. For example, can a field technician access tools quickly while wearing gloves? Can a clinician open a medical bag with one hand? Does the weight distribution remain stable under load? These are performance questions that cannot be answered reliably with drawings alone.
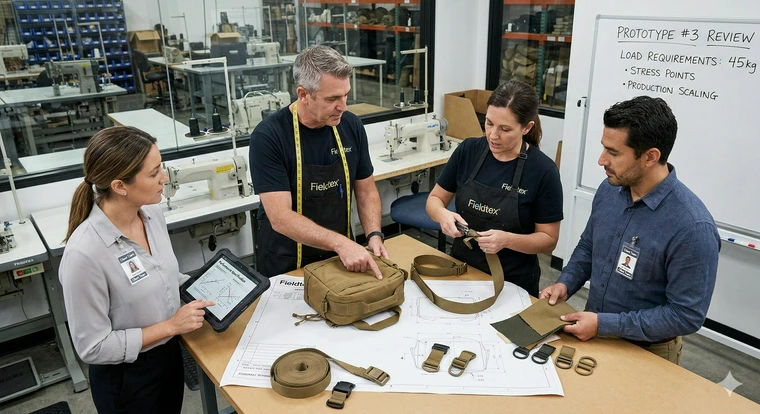
Third, a physical prototype aligns stakeholders. Engineers, purchasing teams, sales representatives, and end-users often visualize products differently. A prototype creates alignment and speeds internal approval.
Manufacturing Benefits
From a manufacturing standpoint, prototyping confirms constructability. Seam stack-ups, reinforcement patches, bar-tack locations, and stitch density all affect durability and repeatability.
It also exposes sourcing issues early. Hardware availability, material lead times, and specialty components can affect the schedule. Identifying those constraints during prototyping prevents delays later.
Finally, prototype development establishes documented construction standards. Those decisions carry forward into production planning.
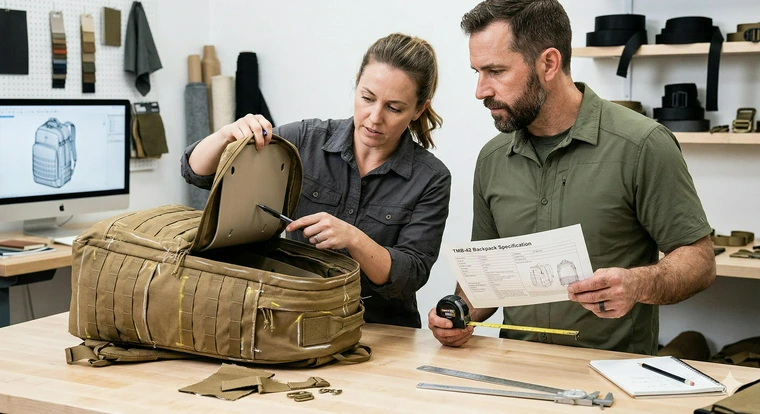
What You Need Before You Contact a Prototype Manufacturer
If you are researching how to get a prototype bag made, preparation will determine both speed and cost accuracy.
Below is a practical checklist.
1. Use Case and Environment
Describe where the bag will be used. Consider abrasion, moisture exposure, temperature range, chemical contact, or outdoor conditions.
2. Load-Out Details
List what goes inside the bag, including dimensions and approximate weight. Identify fragile components.
3. Compartment Layout
Provide a sketch showing pocket placement and access points. Even a labeled drawing improves accuracy.
4. Carry Method
Specify hand carry, shoulder strap, backpack harness, MOLLE compatibility, or rolling configuration.
5. Material Requirements
Provide either specific materials or performance requirements such as wipe-clean surfaces, waterproofing, tear resistance, or puncture resistance.
6. Hardware Preferences
Identify preferred buckles, zippers, hook-and-loop, D-rings, grommets, or adjusters.
7. Branding Needs
Clarify patch locations, embroidery, labels, color coding, or identification panels.
8. Timeline and Next Step
State whether this is a one-off prototype or the first step toward production.
Nice to Have
- Photos of similar bags
- Competitor examples
- Rough budget range
- “Must not change” constraints
The clearer the inputs, the more accurate the prototype.
How to Get a Prototype Bag Made: Step-by-Step
Step 1: Define Requirements and Success Criteria
Every strong prototype begins with measurable success criteria. That might include a maximum loaded weight, durability at strap anchors, zipper cycle reliability, or cleanability standards.
Manufacturers use these criteria to evaluate feasibility and guide reinforcement planning. A common mistake is keeping requirements too general. “It needs to be durable” is not actionable. “Must withstand 40 lbs of load at strap anchors without seam failure” is.
Step 2: Submit Drawings, Sketches, or Reference Samples
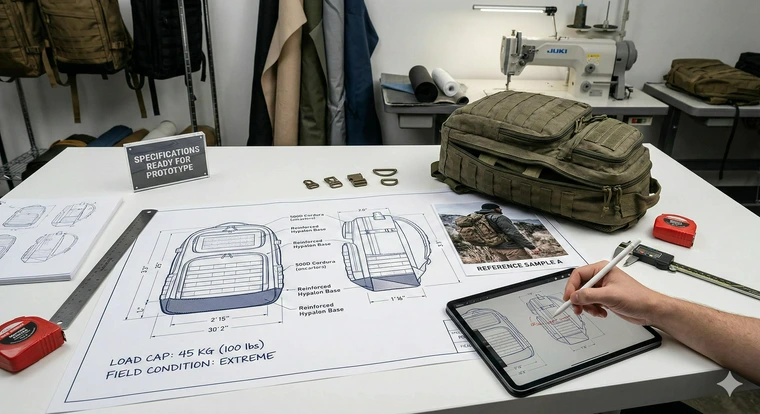
You do not need a complex tech pack to begin. A clearly labeled sketch with dimensions, pocket locations, and opening directions is often sufficient.
Manufacturers translate that information into panel layouts and seam logic. The more specific your dimensions and use-case notes, the fewer clarification rounds are required.
A frequent pitfall is failing to specify orientation or pocket depth. Small omissions compound quickly.
Step 3: Material and Hardware Selection
At this stage, manufacturers may recommend a small set of suitable materials based on the intended use case. For example, they might evaluate different fabric weights, reinforcement layers, or webbing types to see how they affect the bag’s structure, durability, and ease of construction.
The prototype helps reveal how materials interact once sewn together, something that drawings or material samples alone cannot fully predict.
Step 4: Pattern Development and First Sample Build
Pattern development in bag manufacturing involves defining panel geometry, seam allowances, stitch paths, reinforcement integration, and edge finishing methods.
During this phase, manufacturers convert design intent into physical construction logic. Stack thickness at stress points must be evaluated. Seam allowances must support both strength and manufacturability.
The first sample is not expected to be perfect. It is a diagnostic tool.
Step 5: Review, Test, and Revise
Testing should be practical and scenario-based.
For backpacks, conduct loaded wear tests and inspect strap anchor stress points. For medical bags, evaluate wipe-down capability and glove-friendly access.
Test zipper reliability under repeated cycling. Inspect corners and high-load seams. Simulate real usage.
| One common mistake is changing multiple design variables at once. Adjusting materials, reinforcement, and pocket layout simultaneously makes it difficult to identify what improved performance. |
Step 6: Iterate and Plan for Production
Most industrial soft goods require one to three prototype rounds. Simpler products may require only one revision. Complex, load-bearing, or highly organized medical systems may require additional refinement.
Iteration typically focuses on reinforcement placement, pocket accessibility, structural support, and material adjustments.
Once the design stabilizes, planning transitions toward pre-production validation.
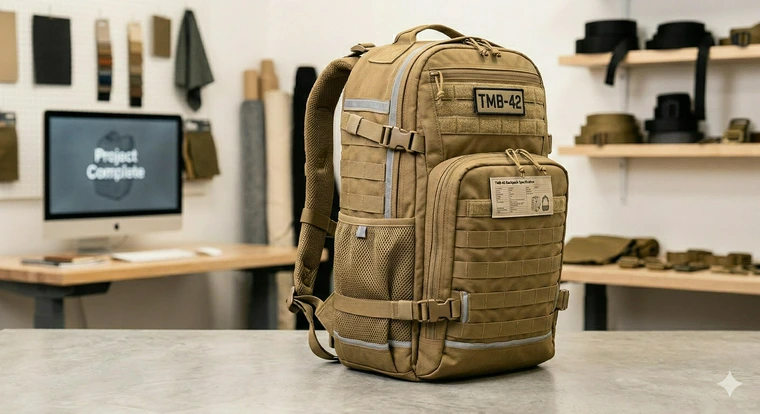
How to Prototype a Backpack
If you are specifically researching how to prototype a backpack, additional performance factors apply.
Fit and Comfort Under Load
Backpack straps must be positioned to distribute weight properly. Padding thickness and breathability affect user fatigue. Wear testing with realistic loads is critical.
Reinforcement and Load Paths
Backpacks frequently fail at strap anchors, top handles, and bottom corners. Reinforcement using bar-tacks, box-X stitching, and layered webbing distributes stress more effectively.
Access and Usability
Evaluate how quickly the bag opens and whether high-frequency items are accessible without full unpacking. Glove use should be considered in field environments.
| Backpack prototypes should pass wear testing, stress checks at strap seams, and drop tests if contents require protection. |
How to Prototype a Medical Bag
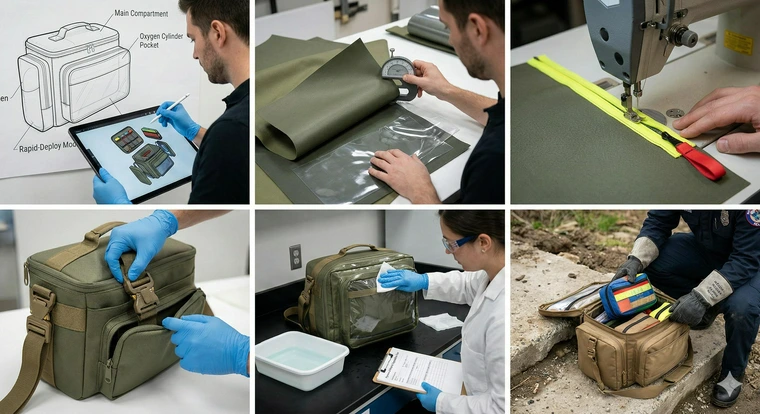
For those researching how to prototype a medical bag, performance priorities shift toward hygiene, organization, and speed.
Cleanability and Material Choices
Medical environments require wipe-clean surfaces and minimized seam crevices. Material selection must support repeated cleaning without degradation.
Organization and Speed
Compartment logic should reflect workflow. Clear labeling, color-coded zones, and transparent panels may improve deployment speed.
Field Conditions
Medical bags often experience repeated handling, glove interaction, and outdoor exposure. Durability and access must align with real operational demands.
Prototype Cost, Lead Times, and What Changes the Price
One of the first questions product teams ask is: how much will a prototype cost, and how long will it take?
The honest answer is that prototype pricing varies widely depending on complexity, materials, and the amount of design work required before sewing begins.
For relatively straightforward bags such as basic tool bags or simple pouches, prototype sewing costs may range from $150 to $400 per sample. More complex products like structured backpacks, technical equipment bags, or highly organized medical bags can range from $400 to $1,200 or more, depending on design complexity.
Some manufacturers charge a flat prototype rate, while others calculate cost based on development time and material sourcing.
What Increases Prototype Cost
Several design factors tend to increase prototype complexity and therefore cost.
The first is pocket count and internal organization. Every pocket, divider, or compartment adds additional panels, seam intersections, and stitching operations.
Custom foam inserts or molded protection panels also increase development time. These features require precise patterning and testing to ensure proper fit.
Specialty materials can raise costs as well. Waterproof laminates, ballistic fabrics, antimicrobial linings, and coated textiles often require different sewing techniques or needle types.
What Can Reduce Development Time
The most important factor is clear specifications. When a manufacturer receives sketches with dimensions, load requirements, and intended use conditions, pattern development moves much faster. Providing a reference bag or competitor example can also accelerate development. Even if the design is different, a physical example helps clarify expectations for structure, reinforcement, and access points.
Typical Prototype Lead Times
Lead time for a bag prototype generally ranges from 2 to 6 weeks, depending on the manufacturer’s production schedule and the complexity of the design.
Simpler prototypes can sometimes be completed in 1 to 2 weeks, particularly when the design is well defined and materials are readily available.
More complex prototypes, especially those involving structured backpacks, protective foam inserts, or specialized materials, may require 4 to 8 weeks to allow for pattern development, sample construction, and review.
If revisions are needed, each additional iteration typically adds one to three weeks, depending on the scope of changes.
Thinking About Total Prototype Cost
When budgeting for product development, it is helpful to think about the entire prototyping process rather than a single sample.
Most textile products go through one to three prototype rounds before the design stabilizes. Each iteration improves reinforcement placement, usability, and material selection.
In some cases, manufacturers will also recommend a pre-production sample once the prototype design is finalized. This step verifies that the design can be manufactured consistently using the exact materials intended for production.
While prototyping requires an upfront investment, it almost always saves money by preventing large-scale manufacturing mistakes.
Common Mistakes When Getting a Prototype Bag Made
Common errors include:
- Defining vague use cases
- Omitting load-out details
- Selecting materials prematurely
- Skipping field testing
- Ignoring reinforcement planning
- Making too many changes at once
- Failing to consider production repeatability
Each of these can be corrected with structured communication and disciplined testing.
Why Work With a Prototype Sewing Manufacturer Like Fieldtex?
Not all sewing shops are equipped to prototype rugged textile products. Many sample makers focus on fashion accessories, while Fieldtex specializes in industrial soft goods such as carrying cases, equipment bags, backpacks, and medical bags. That difference matters when durability, reinforcement, and real-world usability are critical.
When It’s the Right Call
Fieldtex is a strong partner when your product must perform under demanding conditions. The team works with industrial sewing equipment and experienced operators who understand load-bearing construction, stress points, and reinforcement techniques.
Prototypes are also developed with future production in mind, helping ensure that pattern decisions, materials, and construction methods can scale efficiently if the product moves to manufacturing. Fieldtex can also provide practical guidance on fabric selection, hardware, and reinforcement strategies based on the intended use environment.
What to Ask a Prototype Partner
Before choosing a prototype sewing manufacturer, ask:
- What files or specifications do you need to begin?
- How do prototype revisions work?
- Can you source materials and hardware?
- What is the path from prototype to production?
- How are design changes documented?
If you’re developing an industrial or medical bag prototype, request a prototype quote or talk to a product specialist at Fieldtex to discuss your project.
FAQs About Prototype Sewing and Bag Prototyping
Define measurable performance requirements, create clear sketches with dimensions, select materials based on use case, and work with a prototype sewing manufacturer to build and test a first sample.
Prototype sewing is the development and construction of a one-off textile sample to validate design, materials, and structural performance before production.
Focus on strap placement, reinforcement at load points, wear testing under realistic weight, and accessibility of high-frequency items.
Prioritize wipe-clean materials, organized compartment logic, glove-friendly access, and durability under repeated handling.
Prototyping reduces risk, improves usability validation, clarifies reinforcement decisions, and aligns stakeholders before committing to production.